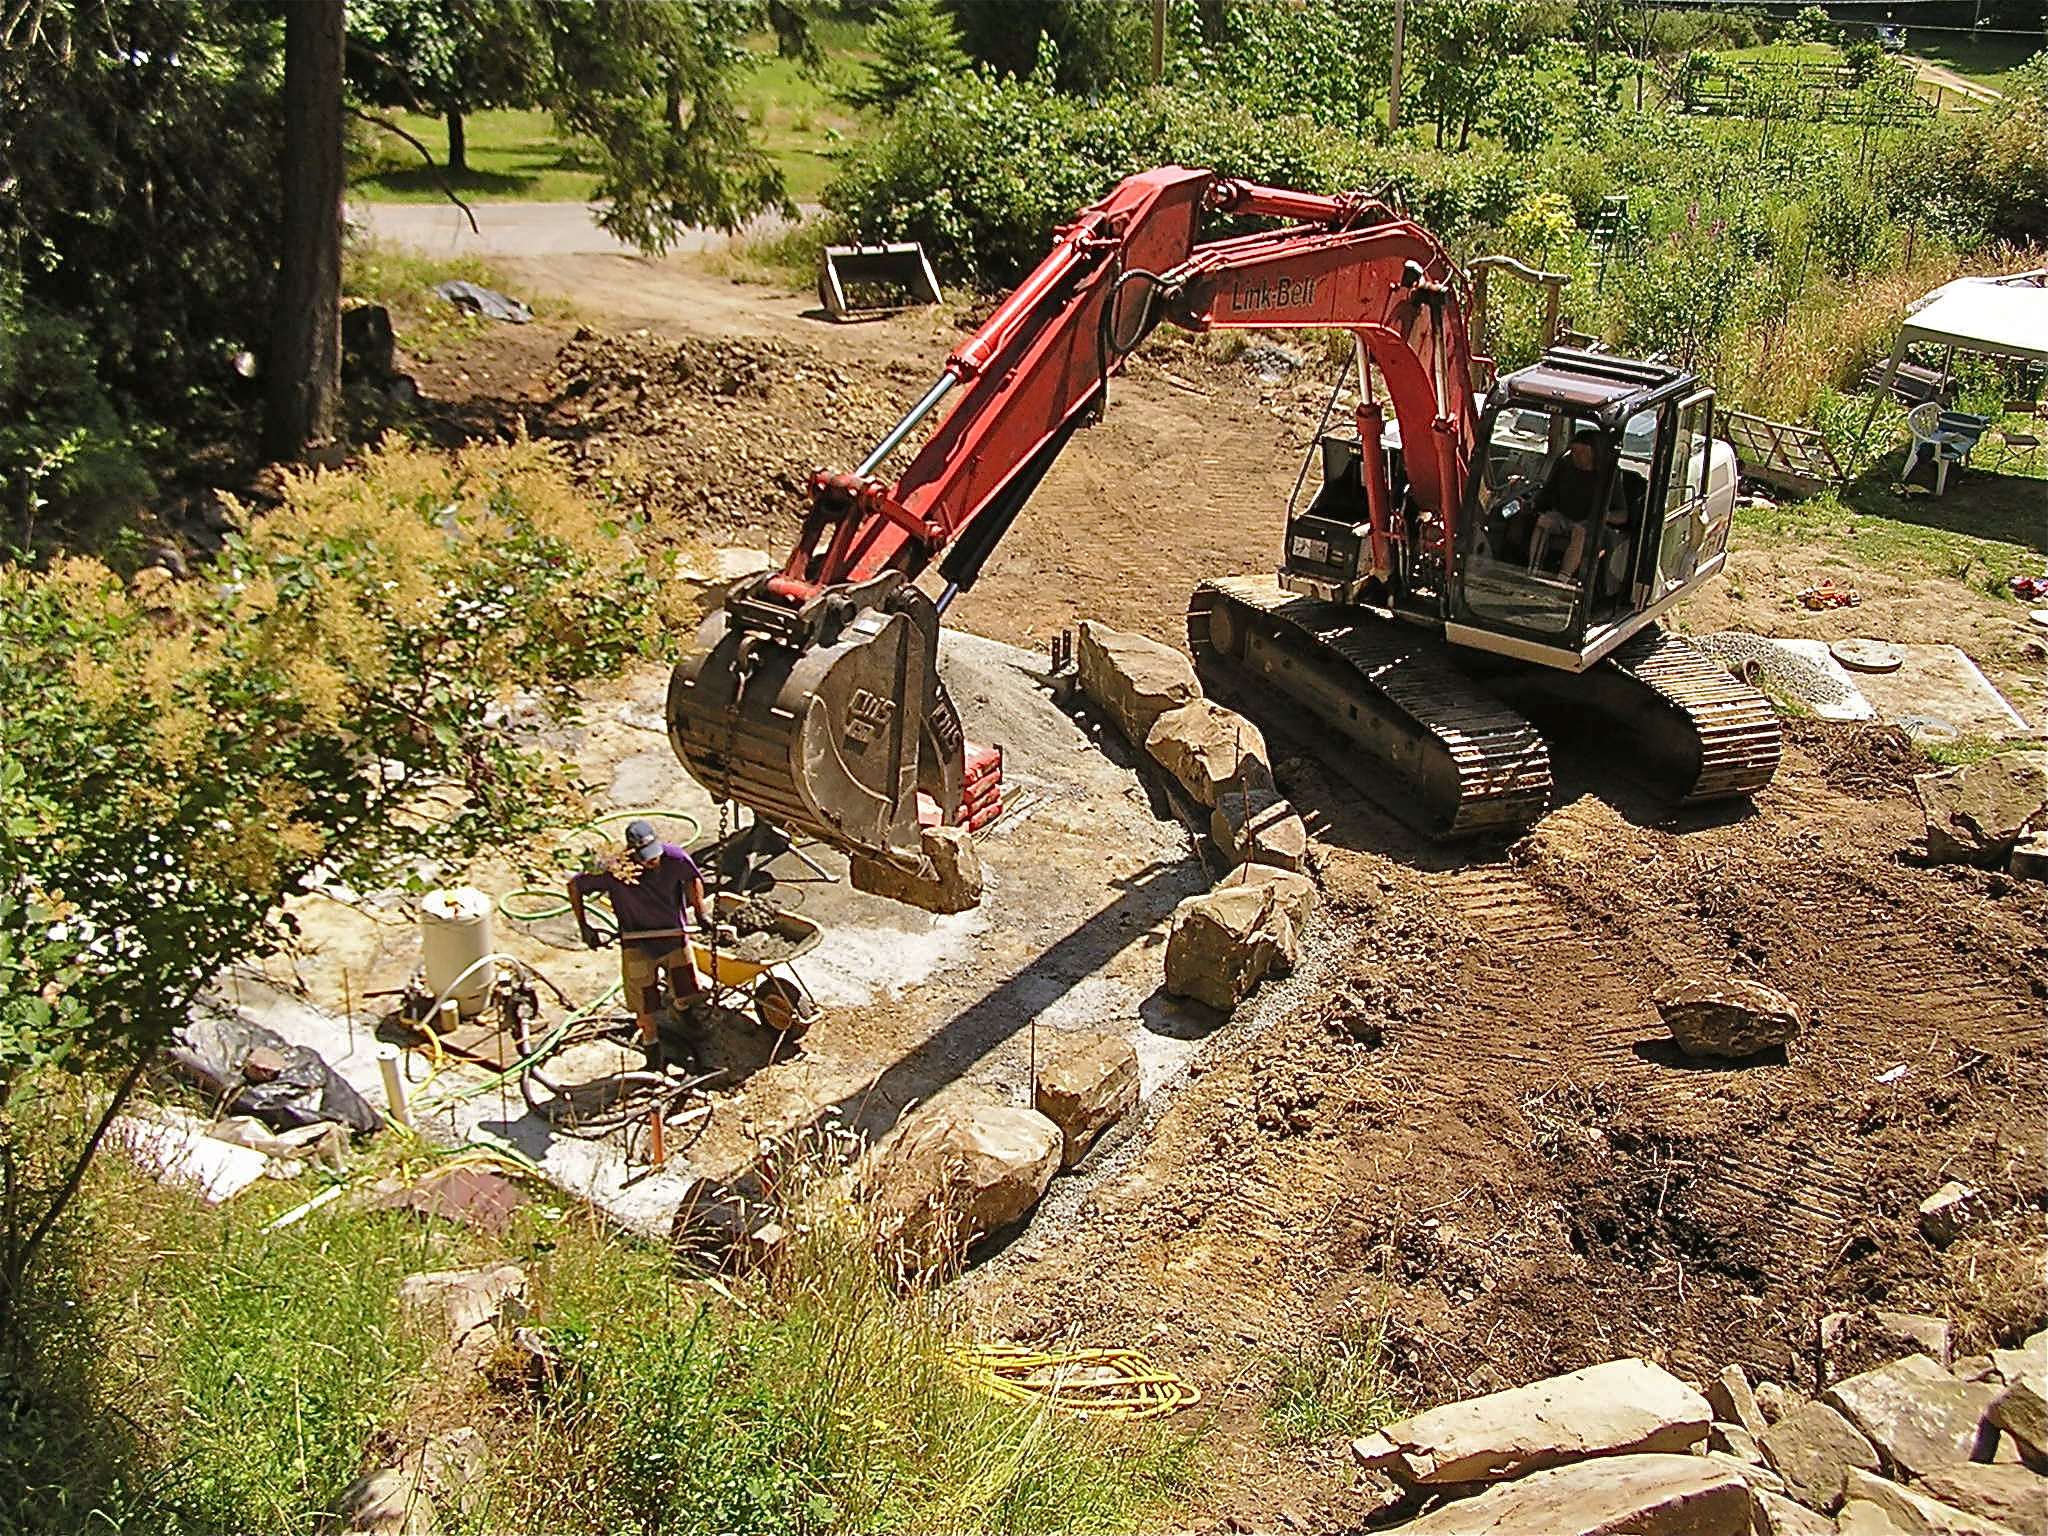
By early August, we were ready to begin adding the cob walls onto the stone foundations for Colin’s workshop that were built during July. The door bucks were assembled and put in place, glass was gathered and waiting, the timber frame for the front door was built and local clay, sand and straw was delivered. Working with Tracy Calvert, our cob building expert from Cobworks, we hosted two sessions of four days each as a learning workshop for anyone interested in experiencing the process of building with cob. We had cobbers from off-island join us for the first four days, and a continuous stream of friends and neighbors each day to learn and help out. Colin’s mom from Florida was visiting, as well as our friends from Vancouver who sold us the property and are building the little cabin on the property.
 We started with learning the art of foot mixing on tarps, but then moved on to using the huge pile of bobcat mixed cob that we had mixed a few days previous.
  Tracy showed us how to apply clay slip to the stones of the foundation to help adhere the cob to the stone, and then we started laying down the first handfuls of cob. We focused on building up one of the wall sections that would have windows in it, so that within the four days, our cobbers would have the opportunity to set the glass in place and cob the sills and edges.
  Tracy spent time each day after lunch discussing different areas of the building process, including foundations, techniques for windows and doors, plumbing and electrical, and roof structures. On the last day, we had a small ceremony to celebrate our work together by placing objects in a jar that have a personal connection and burying it into the wall of the workshop.
  We did that again with the second group of cobbers on the next weekend, and Colin and I were very touched at the honesty and words of appreciation and inspiration that everyone had regarding their experience building and learning together. Everyone had a different reason for being here learning about cob- some of which were specific to cob and some were seeking personal empowerment- we come together as strangers and leave each other with new friendships and new gems of knowledge to integrate into our lives.
 It is also wonderful to have friends and fellow islanders stop in for a day or more to help out. Having the support of our community means a lot to us. We have come to see the building of this workshop as another example of building stronger community ties with experiences of working together and deepening relationships and memories between us.
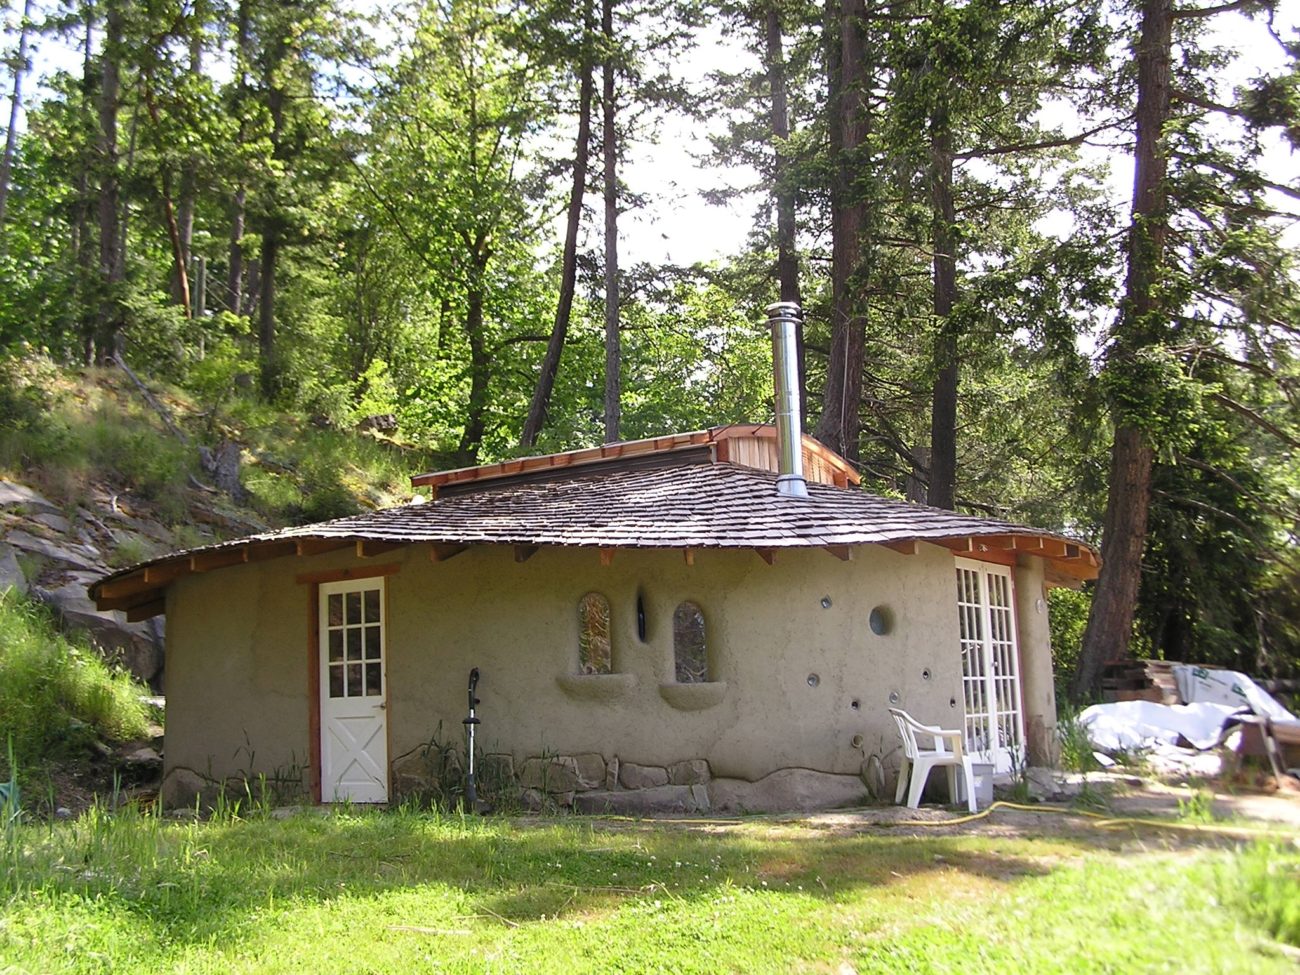
 Colin and I had drawn out a general sketch for a sculptural design on the outside of two flowing lines coming out from the sides of the main door and sweeping up into a raven on the left, and diving down into the roots of a tree on the right side of the door. We wanted to have bottles placed in the wall along the pathways of the two lines, so as we went we taped two bottles together to span the width of the wall (17 to 18 inches wide) and cobbed them in place. We also had some circular thick glass port windows, about 8 inches across, that we wanted to have in the walls, so we put buckets that were slightly smaller than the glass in the place where we wanted the windows and then cobbed all around them.
  By turning the buckets each day we ensured that they pulled out easily when we were ready to set the glass in. We cobbed the glass in place nearest to the outside of the wall, and shaped the circular hole in a sweeping curve on the inside, allowing for the light coming in to expand outwards. Tools for shaping hardened cob include the trimming saw, an adze, and a machete.
 We also made corbels with long lengths of straw covered in clay and layered together to build a strong protruding window sill and arches over the tops of the tall windows that we cobbed in place. Celine, our neighbor, brought us a beautiful tall blue glass bottle that we placed in between the windows, adding more dimensions to the width of the wall. We added a framed opening window on the east side, hammering old nails into the wooden frame for the cob around it to grab onto.
  We did the same with the door bucks, creating a network of wire and nails that the cob will harden around. There is no plumbing in the workshop, but there are a few light switches that Colin mounted near the door bucks, running an electrical conduit up to the rafters where all the wiring will run. Other electrical outputs will be built into an interior wall that will frame in a utility room and backing for Colin’s work bench.
Trimming is a big part of cobbing. Every day, before more cob is loaded on to the walls, the splooges that occur while building up with wet cob is trimmed off with a saw and remixed to be put back on the wall. It is important to make sure that the walls remain plumb, so that the strength of the weight of the cob is kept directly above the foundation. It is easy for the wall edges to wander in all directions. It is also easier to trim excess splooging than it is to add to dips that may occur, so it is important to keep the edges as plumb as possible and allow the splooging to happen.


We had the bobcat return in the days between the first weekend of cobbing and the second, to mix more cob and to remix the leftovers as it was getting dried out. We had two cobbers from off island join us for the second workshop, and again a continuous flow of islanders coming by and spending time working with us.
 By this time, we were also getting two or three groups of people stopping by every day just to see what was going on, asking questions and watching the process. We are fairly visible to the road, so walkers would stop, cars would slow down, and our neighbor across the street sent anybody who came to see her and her road side stand over to check out our building. After the weekend, Shawn (one of the workshop participants) decided to stay an extra three days and keep cobbing before flying back to South Korea, and we had two more people arriving after that who were not able to make the workshop dates but wanted to learn while we were still getting it finished up. By the first few days of September we were placing the first rays of the rafters onto the walls, and securing them to the wooden deadmen embedded into the top foot of the walls. When the rafters were all placed, we added cob around and in between them to bring the wall up to the height of the air vent spacing on the outside and to the ceiling height on the inside.


 Cobbing so far has proved to be a lot of physical work, work that is energizing and fun with a group of people working together and learning from each other. New creative methods of building are developed, and artistic touches are discovered. It would be too lengthy for me to explain details of the cobbing techniques, so I will recommend a book that Tracy recommends for anyone interested in learning more. Check out The Hand Sculpted House, by Ianto Evans, Michael Smith and Linda Smiley and Cob Cottage Company in Oregon. I also recommend a hands on experience for a better understanding of the process, and as a way of feeling out whether cob would be the ideal method if you have a project in mind.
 For more articles on natural building and what we have been doing on our property, see our home blog, www.inspirationalvillage.wordpress.com